The water heater at home is an important part that works tirelessly to make sure that you and your family have warm water every single day.
But you have a certain responsibility to make sure that this unit works as it should. This responsibility comes in the form of maintenance, and we’re going to give you a few tips for it.
1. Check The Pressure Valves

source:bobvila.com
Regardless of what type of water heater you own, gas or electric, it’s equipped with a safety feature called temperature-pressure relief valve. Short for TPR valve or T&P valve, this valve will open every time too much pressure builds up to prevent any damage to the unit which could result in a dangerous explosion.
Each unit can malfunction, and this is because of too much pressure getting into the core valves connected to the unit.
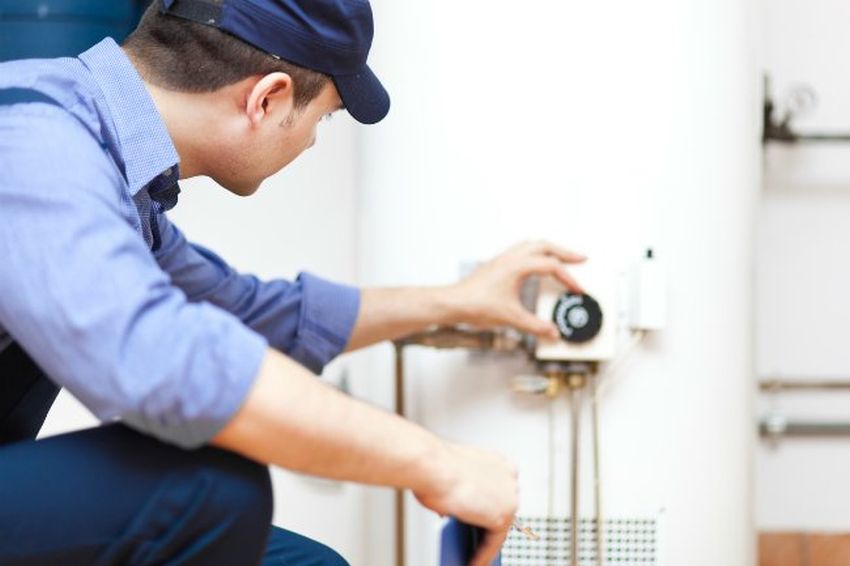
For the first maintenance tip, we strongly recommend you check the pressure valves at least a few times a year for optimal performance.
In order to check the pressure valves, you will need to turn off the unit and then open and close the valve a few times. While you do this, make sure to monitor the flow of water as a properly working valve will release water upon opening.
2. Maintenance Flush

source:houselogic.com
According to waterheaterreviewssite.com, sediment can build up over time in the water heaters’ tank every once in a while. This is especially the case if you have hard water, which causes a lot of damage to the tank itself. Sediment build-up can make your unit work extra hard in order to heat up the water inside the tank. Furthermore, sediment corrodes the tank walls from the inside, which damage the tank itself resulting in leaks.
The second tip we can give you is to perform a maintenance flush at least once a year. This makes sure that your tank is sediment-free.
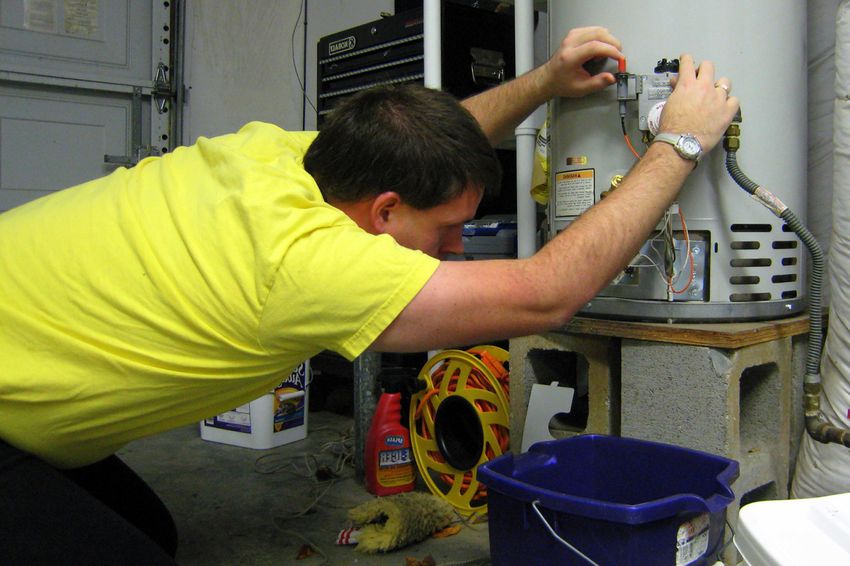
In order to perform a maintenance flush, you will need to drain the water from the tank itself.
Start by shutting off the unit and attach a garden hose to the drain valve. As the sediment will start draining out from the hose, make sure to direct it outside or into your bathtub or toilette. But sediment can cause clogs, so make sure you put a colander at the end of the hose so that the sediment doesn’t end up inside your other pipes.
3. Replace the Anode Rod

source:microplumbing.com
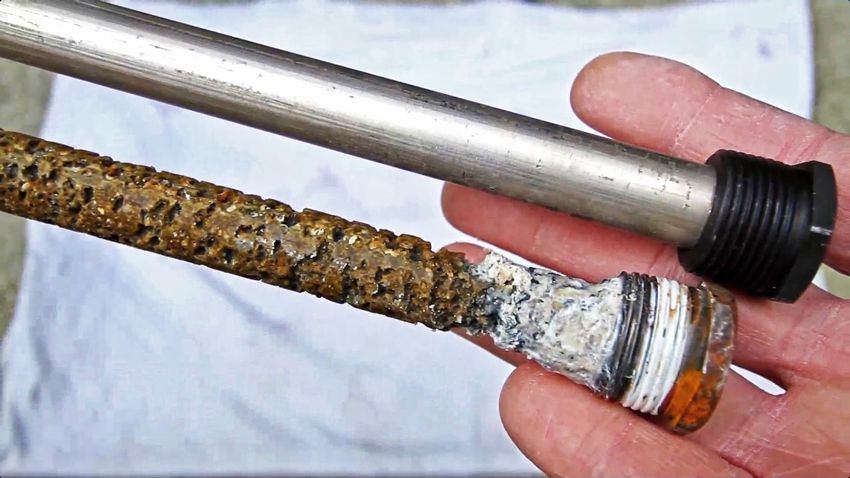
An anode rod is a metal rod that is placed inside water tanks. This metal rod is used to attract minerals like calcium, which is the sediment that corrodes our unit.
But the anode rod, while effective at its job, can wear out through time. An anode rod has a lifespan of three to five years, so make sure you replace it within that period. Replacing this part is very easy and quite straightforward.
First, turn the unit off to prevent any unwanted safety hazards. Then you should locate the rod; it’s attached to a hex nut on the top of your tank. If there is a thick layer of mineral deposits on the rod itself, then it’s time to replace it. Furthermore, you should also replace this part if large portions of the core wire are visible.


