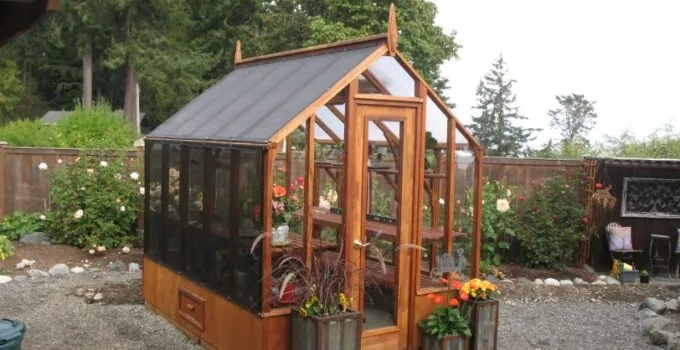
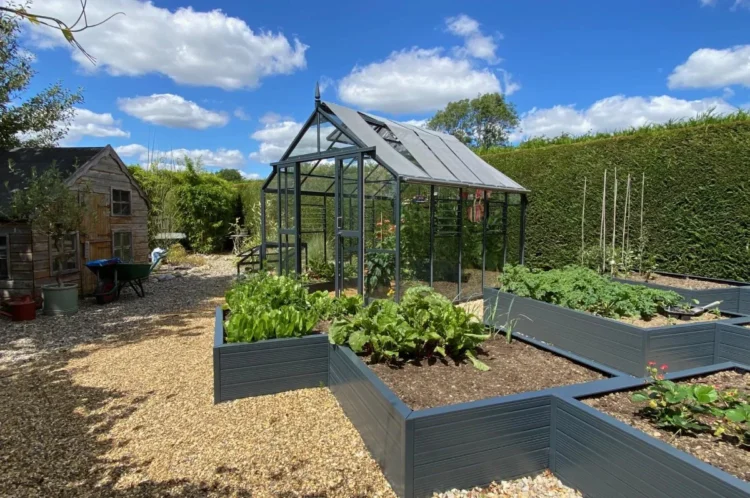
Having a greenhouse is like having a treasure for anyone who loves gardening. It gives you a special space where your plants can grow happily. But, just like us, plants can get too much sun, which isn’t good for them.
That’s where a shade net comes in handy. A shade net helps your plants by giving them a bit of shade, making sure they don’t get too much sun but still get enough light to stay healthy.
This guide will walk you through picking the right shade net and putting it up in your greenhouse, so your plants stay happy and healthy.
Page Contents
Understanding Used Material
They are made from different kinds of stuff, each with its perks. The most common ones are made from a material called polyethylene, which is strong, doesn’t get harmed by UV rays, and gives different levels of shade based on how thick it is.
The thickness is shown in percentages, which tells you how much light it stops from getting through. For a lot of greenhouses, a shade net that stops 30% to 50% of the light is just right because it gives a good balance for lots of different plants.
How to Pick the Right One?
Choosing the best one for your greenhouse means thinking about what your greenhouse and plants need. The thickness of it is super important because it affects how much sun your plants get. For plants that are more delicate or just starting to grow, you might need a thicker net.
For stronger plants, a thinner one might do the trick. Also, think about how big your greenhouse is and the proper size for your needs, to make sure it covers everything without having too much leftover. Check out more about picking the right size and shade cloth for greenhouse.
Getting Ready to Put It Up
Before you start, make sure the outside of your greenhouse is clean so the shade net fits well and doesn’t get damaged. Get all the tools you need ready like scissors or a sharp knife to cut the net, strong ties or clips to hold it in place, and a ladder to reach the top of the greenhouse.
Measuring and Cutting the Shade Net
Getting the size right is super important. Measure how long and wide your greenhouse is, and add a little extra on each side so you can attach it securely. If your greenhouse is shaped specially or you only want to cover certain parts, take careful measurements to make sure it fits just right. Then, cut the shade net carefully, making sure the edges are neat.
Putting the Shade Net on the Greenhouse
How you attach the shade net depends on what your greenhouse is like and what kind of net you’re using. In most cases, you can use strong ties or clips to attach the net to the greenhouse’s frame. Start by attaching the net at the corners to spread it out evenly, then attach the sides at regular spaces to keep it from sagging. Make sure the net is pulled tight but not too much, or it might rip.
Making Sure the Edges Are Secure
It’s really important to make sure the edges of the shade net are well-attached so the wind doesn’t damage it or blow it away. Use extra ties or clips along the edges, putting them closer together for more strength. Pay extra attention to corners and places where the wind hits the most, and make them even stronger if needed.

Source: vjmaterialsmart.com
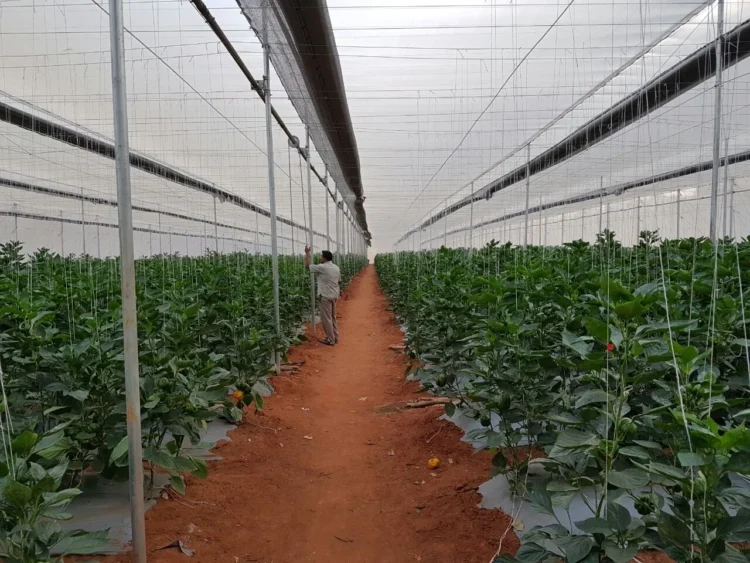
Thinking About Air and Getting In
When you’re putting up the shade net, don’t forget about making sure there’s enough air moving through and that you can still get into the greenhouse. Make sure the net doesn’t cover up vents or doors. If you need to, adjust where the net goes or cut little parts out of it. Keeping the air moving is important to stop the plants from getting too hot and to keep them growing well.
Looking After the Shade Net
Once it is up, it doesn’t need a lot of looking after. Now and then, check it and the things holding it up to make sure they’re not worn out or broken, especially after bad weather. Clean it if it gets dirty because dirt can make it less effective. When the growing season is over, take it down, clean it, and put it away somewhere dry until you need it again.
Fixing Problems
Source: greenhousesdirect.co.uk
You might run into a few problems, like the net sagging, ties or clips coming loose, or the net not giving enough shade. If the net sags, make sure it’s pulled evenly and add more ties or clips if you need to. If ties or clips come off, replace them with stronger ones or use more of them. If there’s not enough shade, you might need another layer of shade net or a thicker one.
Keeping an Eye on Your Plants
After it is up, watch how your plants are doing. Look for signs that they’re not getting the right amount of light, like if they start growing tall and thin, their leaves get burnt, or they’re not growing as fast as they should.
These signs might mean you need to change how much shade your net is giving. Write down what you see and what you do about it, so you can come up with a shading plan that’s just right for your plants and your greenhouse.
Source: agriplastup.com
Changing the Shade Net with the Seasons
The need for this product can change with the seasons because the sun moves and changes in strength over the year. In cooler months, you might want to move the shade net or take it off to let more sun in.
In the hottest part of summer, you might need a thicker net or more layers to keep your plants safe from too much heat and sun. Think about making your shade net setup easy to change, using clips or ties that you can quickly take off and put back on.
In Summary
Putting up a shade net in your greenhouse isn’t just a one-time thing; it’s about keeping your plants’ home just right for them. By choosing the right net, getting everything ready carefully, and following these easy steps to put it up, you can make a safe, shady spot for your plants.
Remember to change things up with the seasons and keep an eye on how your plants are doing. That way, your shade net can be a flexible tool that helps your garden grow.


